
📖 How To: Bulk Upload
Follow these steps to perform a bulk upload of your transactions:
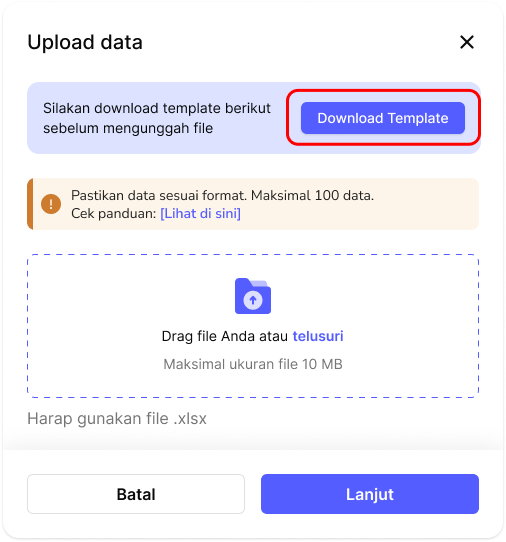
- Open the Bulk Upload Menu
- Go to the Bulk Upload section in your dashboard.
- Download the Template
- Click Download Template
An Excel (.xlsx) template will be downloaded to your computer.
- Fill in the Template
The template contains several columns that you need to complete.
| Column | Description |
|---|---|
| msisdn | The target identifier for the transaction. This can be a phone number, customer/account ID (e.g., Maxim ID), utility token (e.g., PLN), or any other supported destination. |
| product_code | The product code from the available product list. |
| partner_reference_id | Your unique transaction ID, maximum 36 characters. Recommended format: yyyymmdd_10001 or PARTNER_yyyymmdd_10001 This makes it easier to track and ensures uniqueness. |
⚠️ Maximum of 100 rows per file is allowed. Any file with more than 100 rows will be rejected.
Example Excel (.xlsx):
msisdn,product_code,partner_reference_id
081234567890,PKG001,20250909_10001
081298765432,PKG002,20250909_10002
- Save and Upload
- After filling in the data, save the file.
- Return to the Bulk Upload page, then upload the file.
- Review the Uploaded Data
- If the upload is successful, click Continue.
- A transaction summary based on your uploaded file will appear.
- Double-check all details to ensure accuracy.
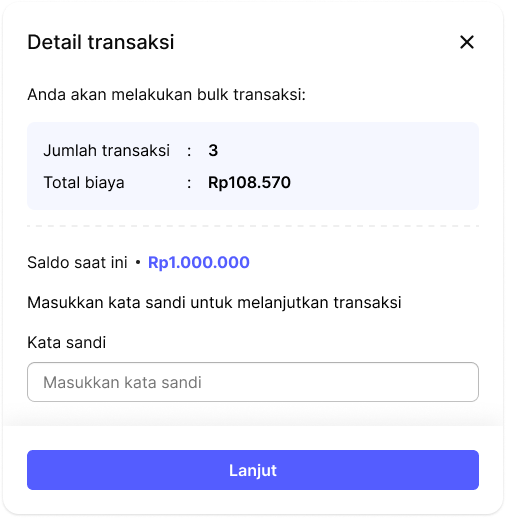
- Confirm the Transaction
- Make sure your account balance is sufficient.
- Enter your account password.
- Click Continue to confirm.
- Monitor the Results
- Your bulk upload will now be processed.
- Each transaction will return a final status
| Status | Meaning |
|---|---|
| In Progress | The transaction is being processed. |
| Success | The transaction has been completed successfully. |
| Failed | The transaction did not complete (e.g., insufficient balance, invalid data). |
- You can view all transaction details in the Transactions page and in your Dashboard.